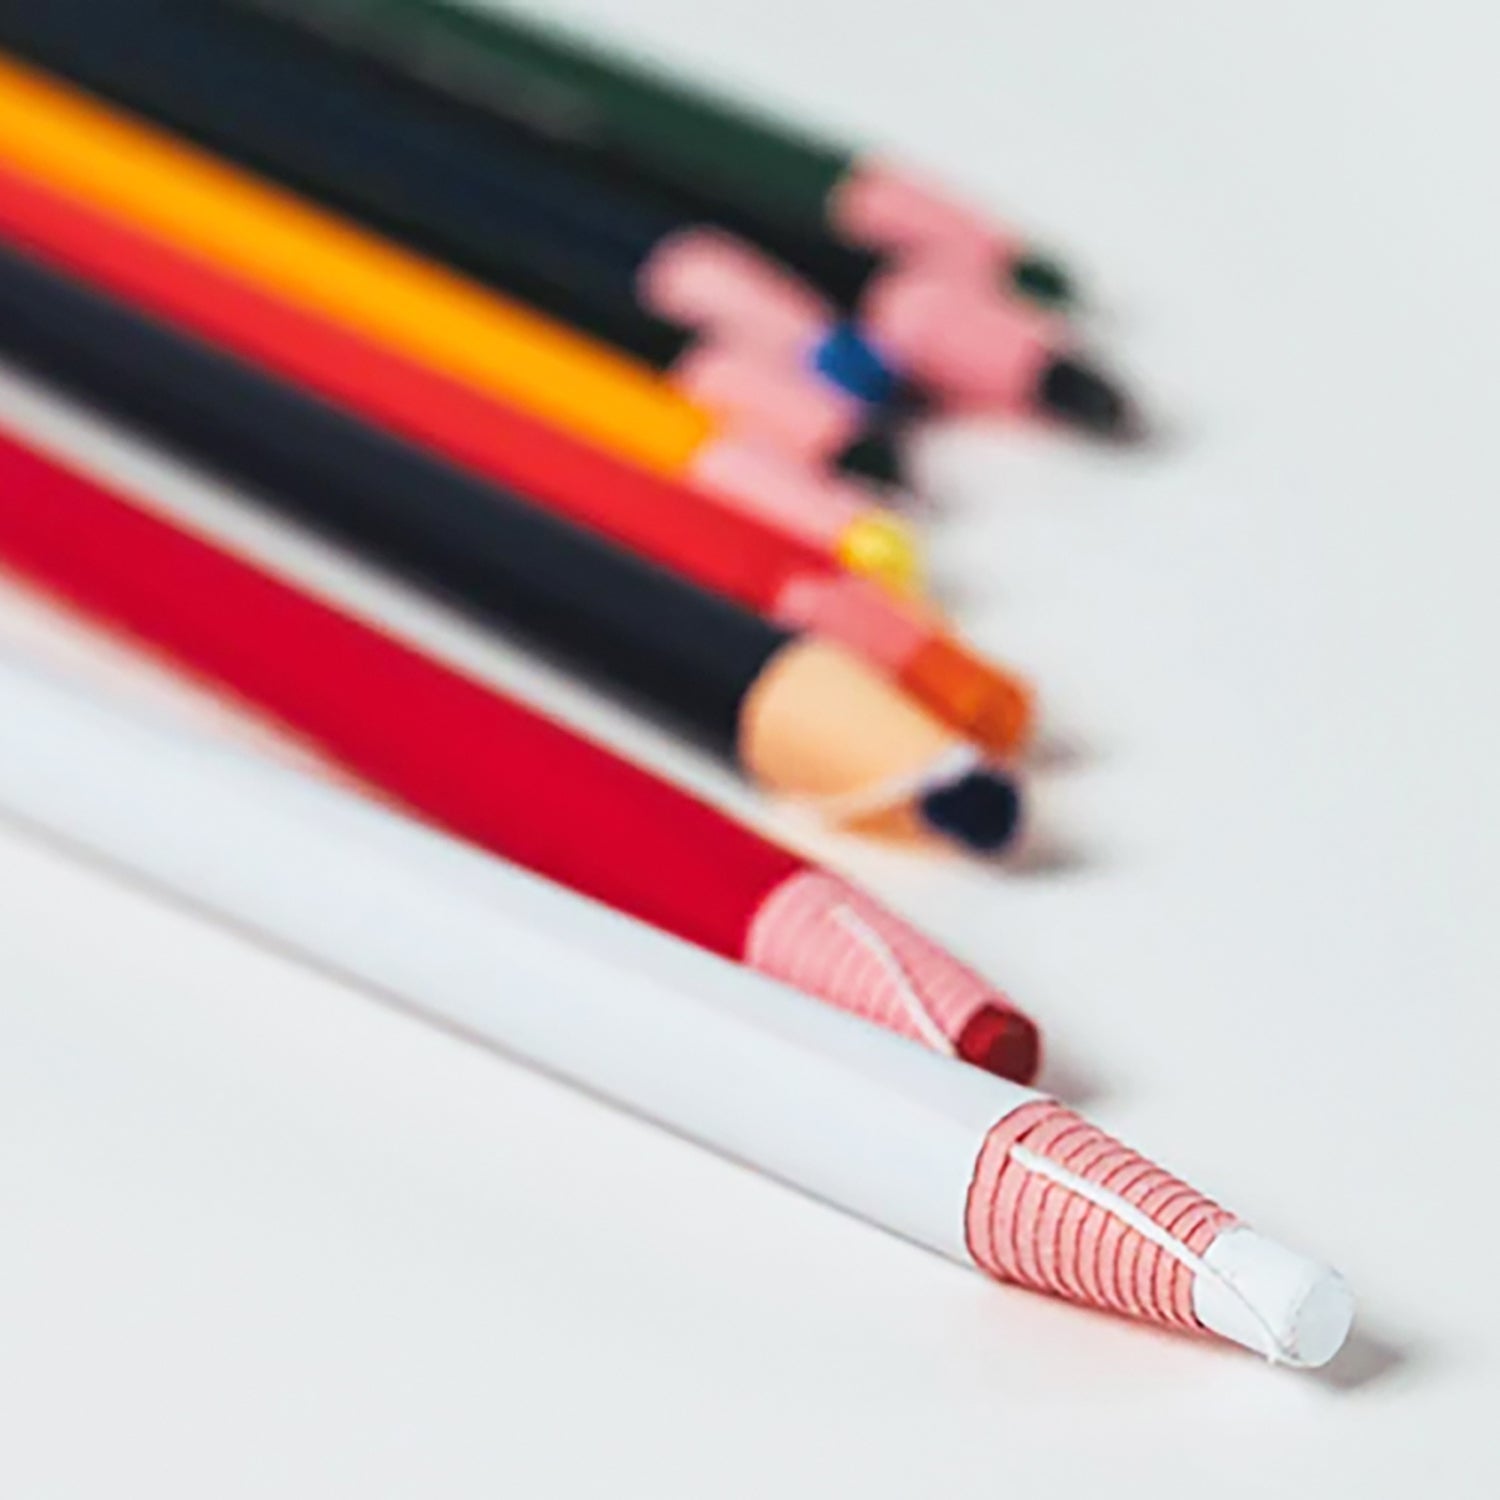

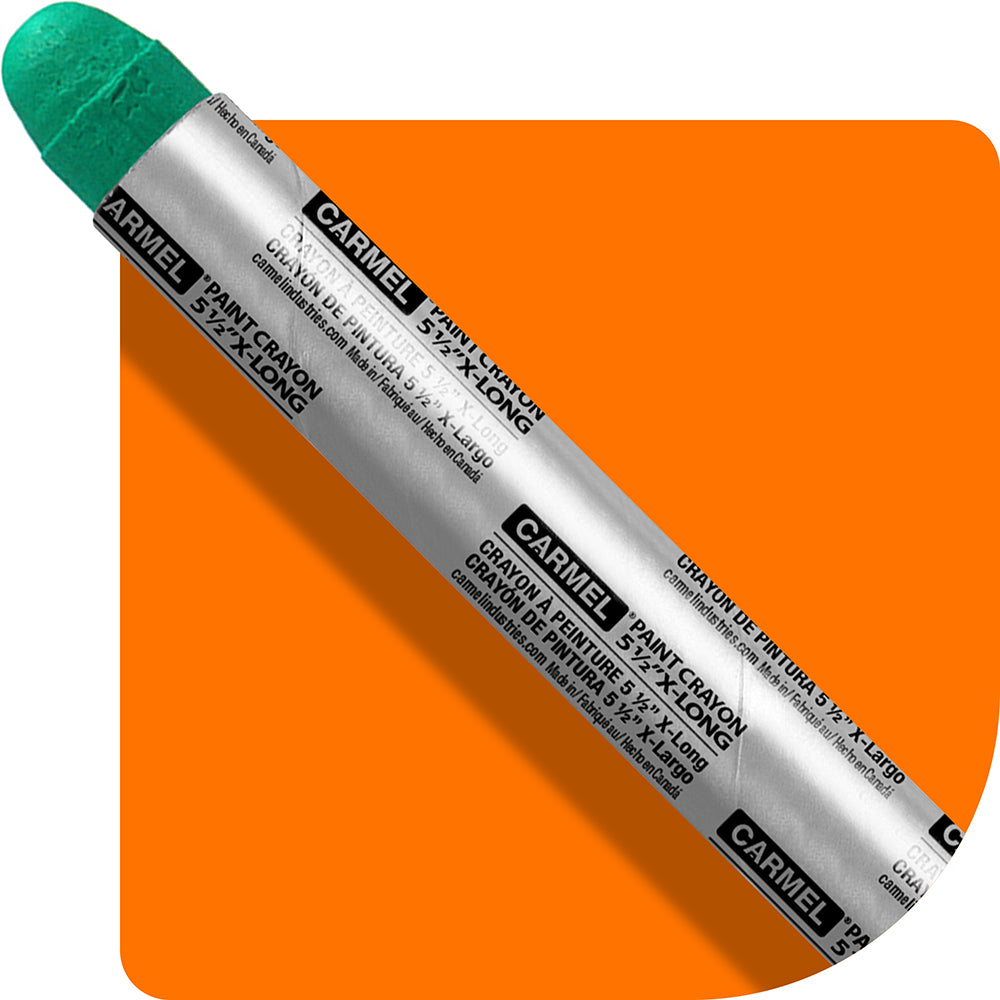
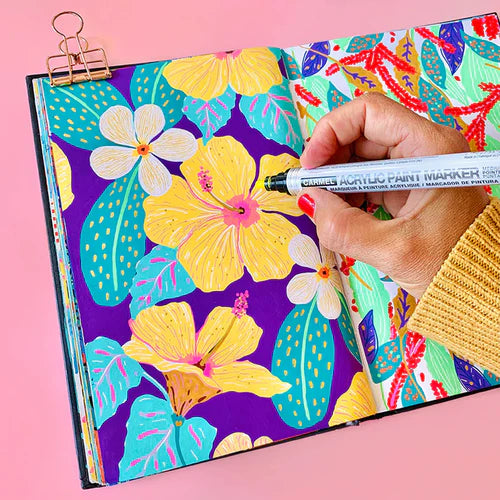
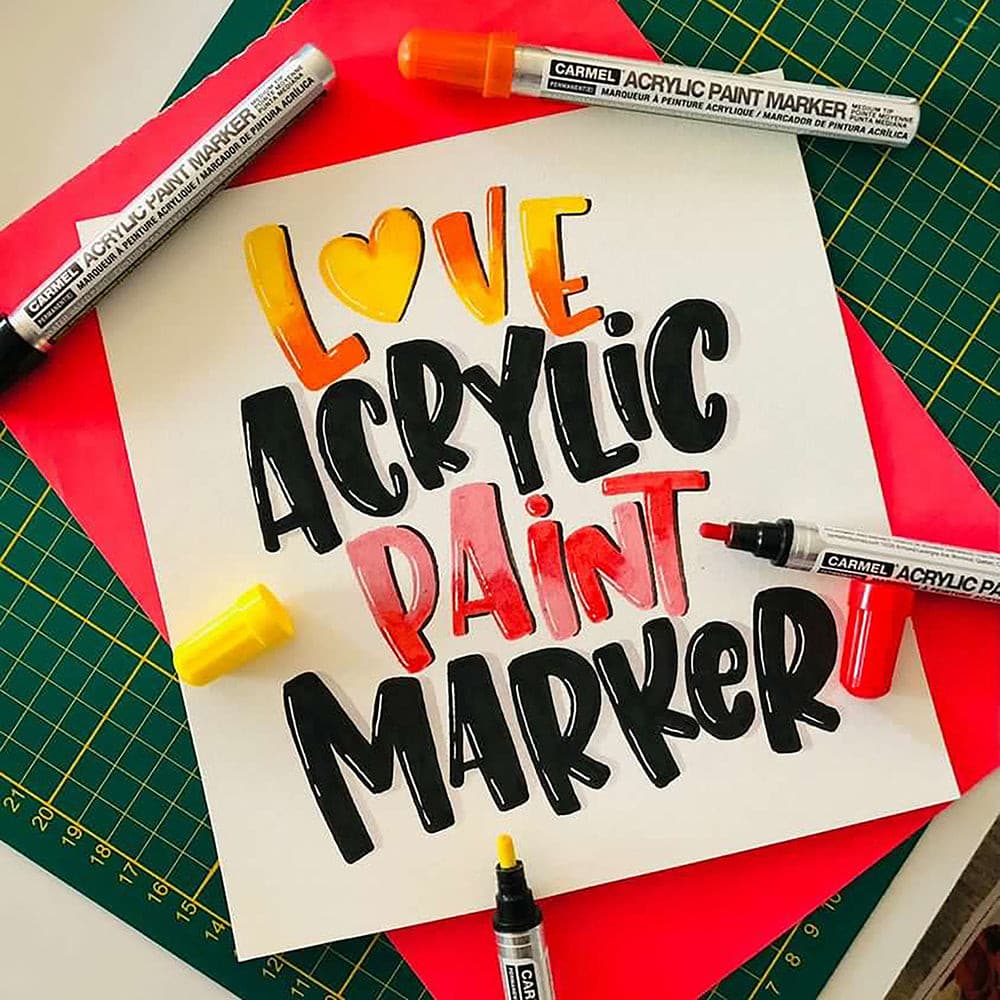
Hey there! The DIY arts and crafts scene is booming right now, with a ton of awesome ideas that you can find on platforms like Pinterest and YouTube. One tool that people are really loving in this community is the paint crayon or solid paint marker. They're super versatile and unlike regular crayons, they're made with semi-solid paint that won't smudge or fade. How cool is that?

Prepare to be blown away by these amazing marking instruments that are not only user-friendly but also crazy versatile. And guess what? They come with a bunch of unique tips and techniques that will take your creative game to a whole new level! Our mission? To reveal the absolute best methods for enhancing your artistic endeavors. Get ready to have a blast!
What Are the Advantages of Using Paint Crayons in Arts and Crafts?
Are you ready to dive into the wonderful world of paint crayons? Well, get your creative hats on because these bad boys are about to revolutionize your arts and crafts game!
First things first, let's talk about convenience. Paint crayons are like the superheroes of the art world - they're super easy to use and require minimal effort. No need to worry about brushes or any other fancy tools, just grab a paint crayon and start creating magic!

But don't be fooled by their simplicity, paint crayons pack a serious punch when it comes to vibrant colors. You won't have to settle for dull or washed-out shades anymore. With these crayons, you'll be able to give your artwork that extra oomph with their bold and long-lasting pigments. Your creations will practically jump off the page, demanding attention!
Now, here's where it gets even more exciting. While paint crayons are perfectly awesome on their own, you can also unleash your inner Picasso and get a little wild. Yes, my friend, you have the option to grab a brush and blend those colors like a true master artist. So, whether you prefer using the crayon directly or want to mix it up with a brush, you have the power to create your unique style.
The Incredible Versatility and Durability of Paint Crayons
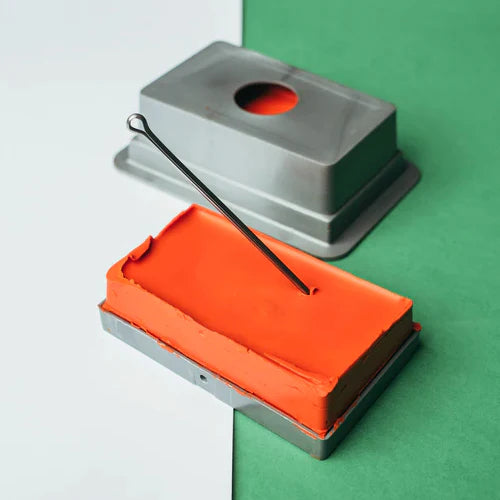
These magical tools are just like regular crayons, but with a special twist. Unlike liquid paint, paint crayons have a super cool semi-solid composition that makes them extra durable. No need to worry about these crayons drying out - they create a protective layer that can be easily removed whenever you want to switch up your design.

But that's not all! Paint crayons are the champions when it comes to working with porous materials. Their semi-solid nature prevents the paint from running or seeping into surfaces, which makes them perfect for all your stencil projects. They'll stay right where you want them, creating crisp and clean designs with ease.
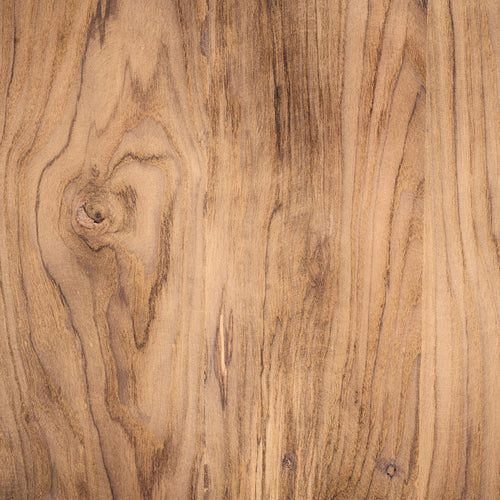
Oh, and did I mention that paint crayons are masters at filling in intricate details on uneven surfaces? Whether you're working with stone, wood, or even particle board, these crayons can handle it all. Now you can create precise and vivid designs on any surface, with just a few handy techniques.
So grab your trusty paint crayons and let your creativity run wild. With their durability, precision, and vibrant colors, there's no limit to what you can create. Get ready to make some art that's paint-astic!
How to Use Paint Crayons for Your Projects
Let me share with you two super cool ways to use paint crayons in your arts and crafts projects!
The first method is like using a pen or pencil. Just hold the crayon like you would hold a writing instrument and use its tip to draw and create awesome designs. It's simple and oh so fun!
Now, let's move on to the second method, which is a bit more adventurous. You get to unwrap the paper or cardboard around the crayon and use its side to make cool marks on your surface. It's like going on an artistic adventure and leaving colorful trails behind!

Oh, and here's a neat little trick for you if you choose the second method: you can flatten the side of the crayon by shaving it or even break off a small piece if you need more precision for your artwork.
Creating Art on Untreated Canvas with Paint Crayons
Want to know another awesome thing about paint crayons? Well, they give you the freedom to draw right on untreated canvas for your traditional art projects! And guess what? You can totally get creative with it! Whether you want to layer different colors, blend them together, or even use additional marking tools and materials, the possibilities are endless! So go ahead, let your imagination run wild and create some truly captivating mixed-media artworks.

The Art of Rubbing
Have you ever heard of rubbing as a cool technique to use with paint crayons? It's a really fun and creative way to make awesome designs! What you need is a rubbing plate with a raised design on it. Simply place your material over the plate and gently use your paint crayon to rub over it. You'll be amazed at how the design transfers onto your material! Give it a try and see what cool creations you can make.
Preparing Your Rubbing Plate or Stamper
Whether you want to grab some rubbing plates from the store or get creative and make your own, the main goal is to make sure your material stays put and doesn't move around. One trick you can try is spraying a temporary adhesive coating on your plate or stamper. This will give it a little stickiness and keep your material securely in place while you do your rubbings.
Applying Paint to Your Surface
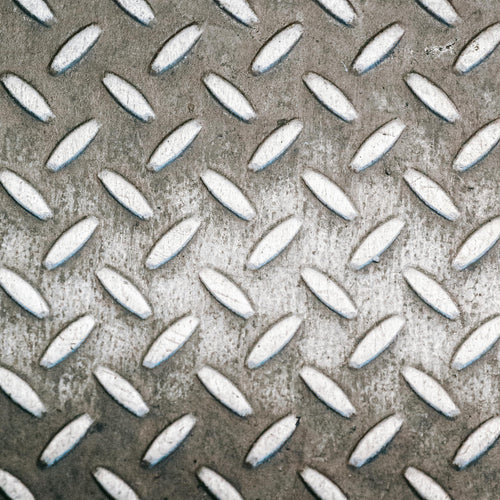
Once you've double-checked that everything is nice and secure, go ahead and start applying the paint to your chosen surface. It could be metal, wood, concrete or anything else you like! Use short, deliberate strokes and make sure to keep going in the same direction. Take it easy and be gentle as you work. You can choose to use either the tip or the side of the crayon to apply the paint. Just remember, using the side might give you neater results, especially if the crayon is a bit flat.
 Stenciling
Using paint crayons for stenciling is super effective because of the cool way they deliver the paint. It's pretty much semi-solid, which means that once you apply it, it stays right where you want it to be without spreading outside the lines. This lets you make really sharp and clear designs that stand out.
Securing the Stencil
If you want to make sure your stencil stays put on your surface, especially when working with fabric, I've got a nifty dry ironing method for you. If you made your stencil with freezer paper, just remember to place the waxed side down against your fabric before applying the dry iron. This simple trick will keep your stencil firmly in place while you work on your crafting project.
Applying Paint to the Surface
To get the best results and have more control, we suggest transferring the paint from your crayon onto a brush before you put it on your surface. This method works great, especially if you're using detailed stencils that might be delicate. Just be careful not to ruin or crinkle the edges of the stencil when you're applying the paint. Using a brush also allows you to blend colors together as needed.

Layering and Combining Methods
By using paint crayons and some cool layering and blending techniques, you can achieve some really unique patterns. You can try applying multiple layers of rubbings or stencils on one piece of fabric, or even paint different sections and put them together like a puzzle to make a quilt. The possibilities are endless, so let your creativity shine!
Exploring Creative Possibilities
Let's dive into the colorful world of paint crayons where the possibilities are as endless as your imagination! With a little bit of creativity and some stencil magic, you can create masterpieces by blending those vibrant colors together with a magical touch of your brush and watch as your artwork comes to life with a burst of rainbow colors. And for those extra fancy details, grab a Q-tip and swirl it on your canvas to add that perfect touch of precision..
So, go ahead, embrace your inner artist and let your creativity run wild with the marvelous world of paint crayons!