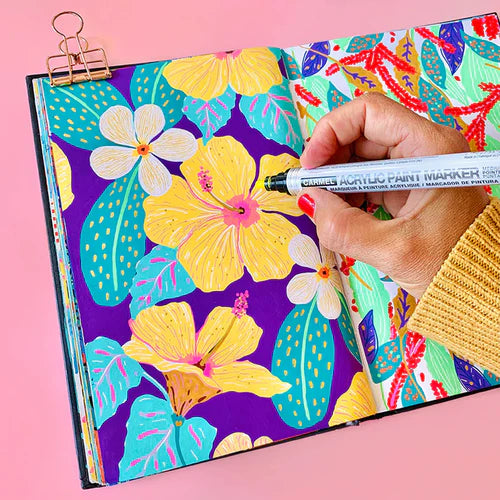
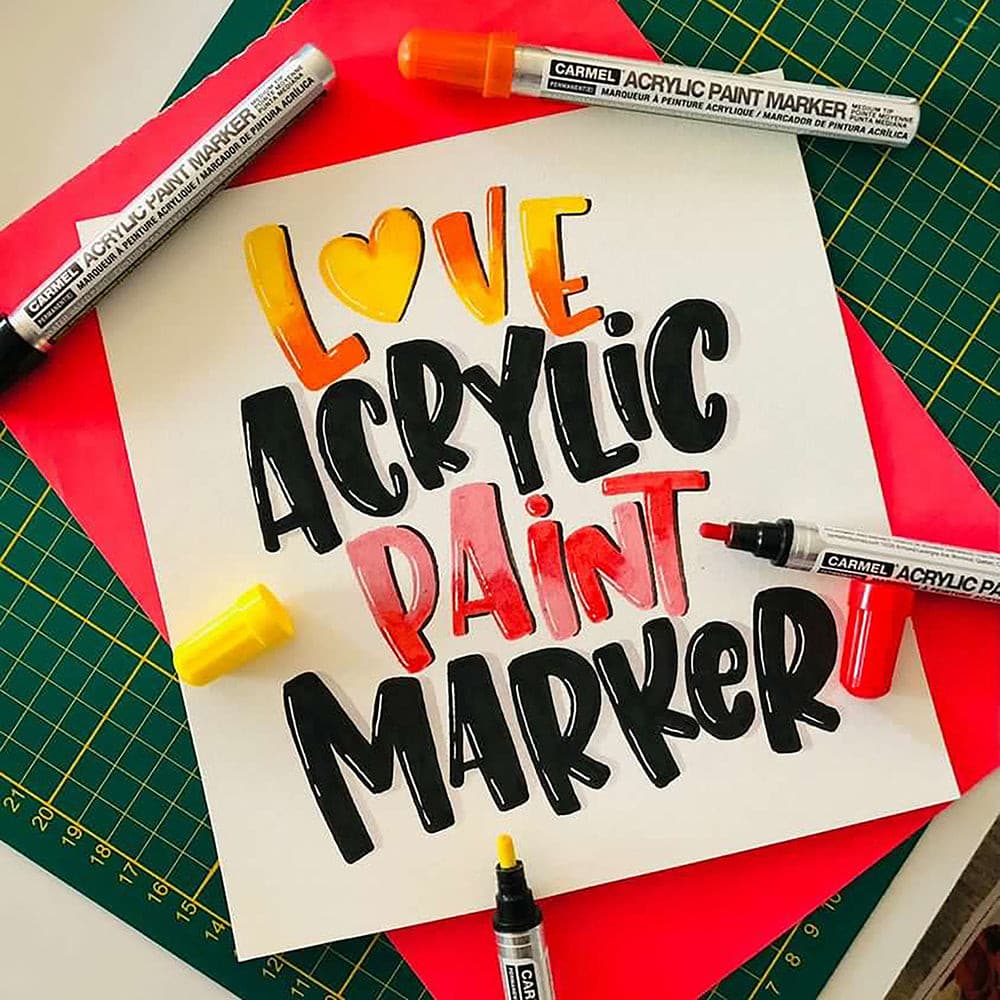
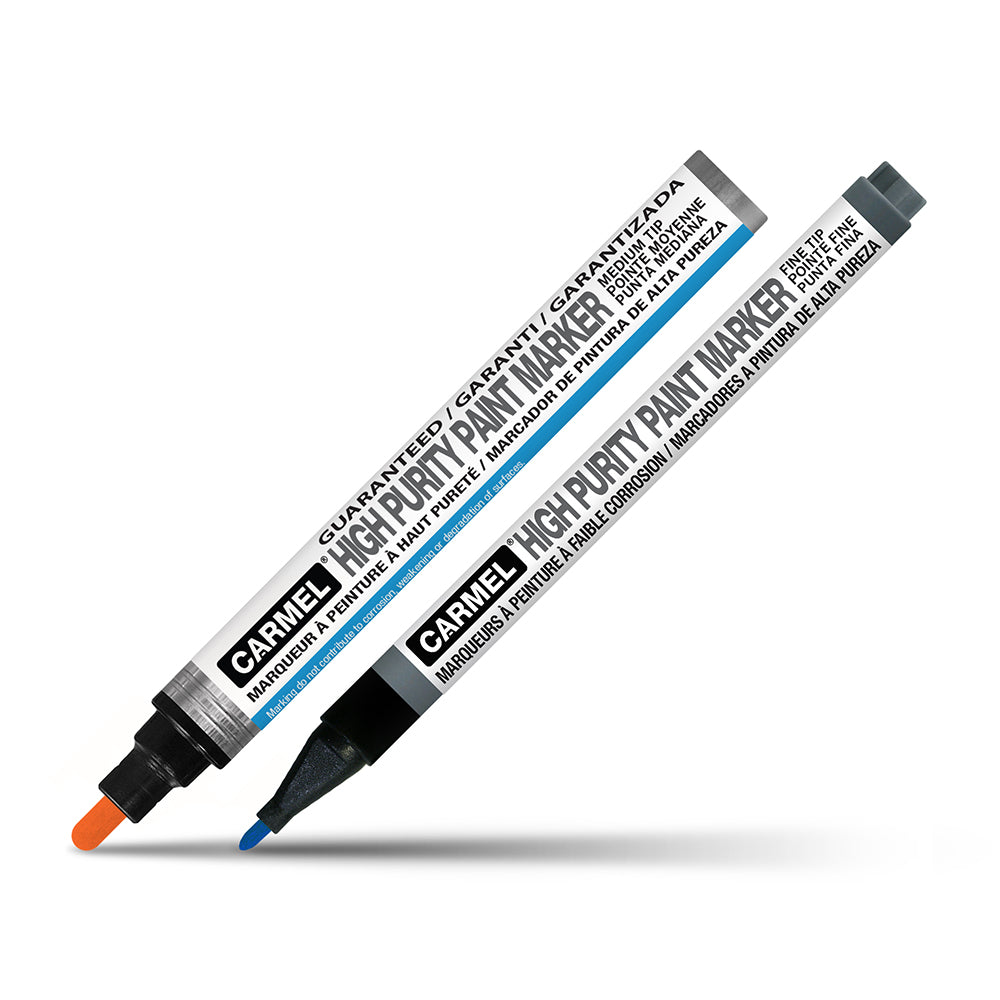
Hey there! We are so excited to tell you about this amazing guide to Liquid Chalk Markers! If you're looking for a way to spice up your creative projects, you're in for a treat. Liquid Chalk Markers are not just for classrooms anymore—they're versatile tools that can add a vibrant touch to just about anything. From decorating windows to crafting eye-catching signs, these markers are a must-have in your artistic arsenal.
Seriously, if you're an artist, a teacher, or just someone who loves adding a bit of flair to everyday things, these markers are a game-changer. This guide has everything you need to know—like the best surfaces to use them on and how to make the most of them. We'll go over different tip sizes, and I'll share some cool techniques to make your designs really stand out. Trust me, you won't want to miss these tips and tricks.
Ready to take your chalk marker skills to the next level? Let’s go!

What Surfaces Can I Use Liquid Chalk Markers On?
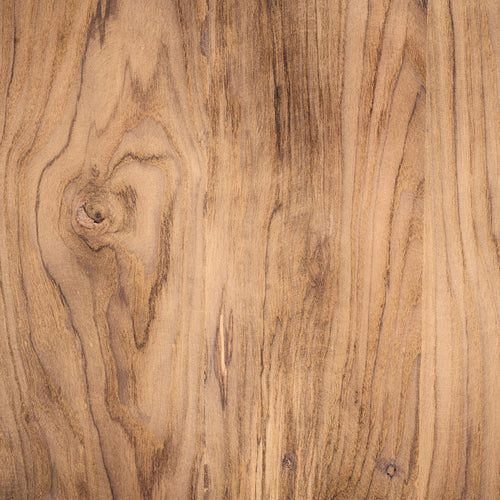
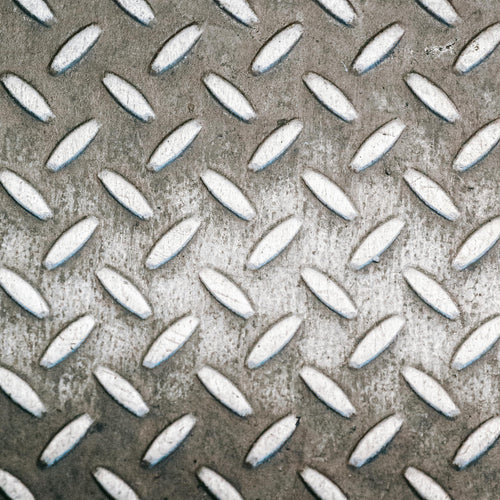
These markers work so well on all sorts of non-porous surfaces. You can use them on glass, which is perfect for windows, mirrors, and glass doors. They’re also awesome for vinyl chalkboards, so if you’re into making menus, signs, or doing home projects, you’re all set. Those non-porous menu boards you see in restaurants and cafes? Yep, these markers are perfect for those too. If you’re into industrial or craft projects, metal boards are a fantastic choice. And don’t forget about corrugated plastic—it’s perfect for signs and displays. Carmel’s Liquid Chalk Markers deliver vibrant colors and are super easy to clean, no matter if you’re working on something temporary or semi-permanent.
What Makes Liquid Chalk Markers Stand Out?
So, what’s the deal with Liquid Chalk Markers? First off, they’re water-based, which means they’re non-toxic. No nasty chemicals here—they’re free from volatile organic compounds (VOCs) and solvents. Plus, they’re non-flammable and odorless, making them super safe and pleasant to use anywhere. You can feel good about using them in all sorts of places without worrying about any harmful effects.

How Do I Use Liquid Chalk Markers?
Step 1: Get Your Marker Ready
Give it a Good Shake: Before you start, make sure the paint is well-mixed. Just shake the marker with the cap on for about 15-20 seconds. This way, you’ll get an even and vibrant color when you use it.
Step 2: Prime the Marker
Get the Paint Flowing: Take off the cap and press the tip of the marker down on some scrap paper or your surface. Just apply a little pressure until you see the paint start to flow. This might take a few seconds to a minute, especially if it’s your first time using the marker.
If the paint doesn’t start flowing right away, no worries! Just keep pressing down and pumping the tip until the ink flows smoothly.
Step 3: Start Marking
Get Creative: Once the tip is nicely saturated with paint, you’re ready to start drawing or writing on your chosen surface. Go for smooth, even strokes for the best results. These markers are perfect for non-porous surfaces like glass, metal, vinyl chalkboards, and more.
Just a heads-up: Give the paint a few moments to dry completely to avoid any smudging, especially if you’re working on something detailed or layered.
After Use - Recap and Store Properly:
Just pop the cap back on tightly to keep the tip from drying out. If you can, store the marker lying flat or standing up with the cap facing down. This way, the tip stays nice and moist for next time!
How Do I Erase Markings and Start Again?
Cleaning Up:
It’s super easy to clean up your liquid chalk markings! Just grab a damp cloth or sponge to wipe them away. If you’ve got some stubborn spots, a little mild soap or glass cleaner can do the trick. Just make sure the surface is dry before you start marking again.
What Are Some Tricks For Keeping My Markers In Tip-Top Shape?
To keep your liquid chalk markers in great condition, just follow these simple tips:
After you use them, wipe the nibs and tops with a tissue to keep them clean. If the felt nibs get a bit ragged from rough surfaces, you can remove, flip, or wash them if they get clogged. And don’t forget—store your markers lying on their side or standing up with the cap on tightly. With these tricks, your markers will be ready to rock whenever you need them!
So, there you have it—everything you need to know about Liquid Chalk Markers! If you’re jazzing up your home projects, creating eye-catching signs, or just having fun with some creative designs, these markers are a fantastic choice. They’re versatile, easy to use, and offer vibrant colors that really pop. If you haven’t tried them yet, give them a go—you’ll be amazed at how they bring your ideas to life.
And hey, if you’re looking for more fun ideas and inspiration, be sure to check out our website! We’ve got tons of great content and creative tips to spark your imagination. Don’t miss out on our other blogs—they’re packed with useful info and exciting projects.
Happy marking, and feel free to share your cool creations with us!
