


Welcome to the wonderful world of tailoring and sewing! Today, we're diving into a handy little tool that every sewist should know about: tailor's chalk. This essential item is perfect for making precise markings on textiles, whether you're a clothing manufacturer, a seasoned tailor, a dedicated seamstress, or someone who loves sewing at home.
Despite its name, tailor's chalk isn't actually made of chalk! Instead, it's crafted from wax or clay, providing smoother, more precise marks that are easier to handle and remove. Older generations might remember using real chalk for sewing, but we've come a long way since those dusty days. Now, with wax and clay options, you can say goodbye to chalky hands and hello to cleaner, crisper lines.
In this blog, we'll help you understand which type of Tailors Chalk works best for your specific needs, providing tips and insights for an easier tailoring process.
What do I use Tailor Chalk for?
This specialty fabric marking tool is used for indicating spots where the fabric needs to be taken in or let out, shortened or lengthened, or where a pleat needs to be made. With tailor's chalk, you can see the exact intended location of adjustments, even after the material has been flipped, folded, or hung multiple times.
How Do You Mark Fabric?
Always consider the fabric type and its weave before making your marks. Avoid going against the grain and be mindful of fabrics that stretch more than others. Press lightly and avoid pulling against the weave to prevent damage.
Quick Lines:
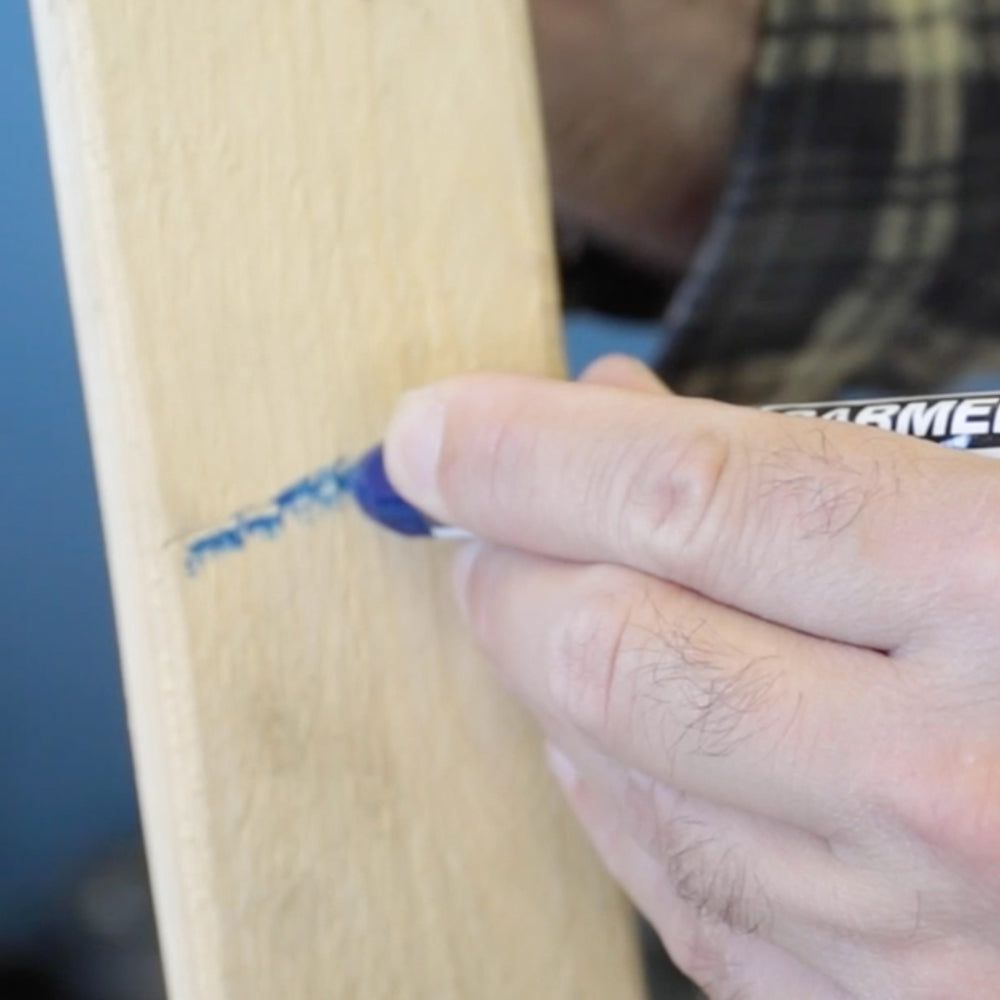
 Larger pieces of chalk are great for quick, imperfect lines, like marking the hem of pant legs that are too long. They help you make fast adjustments without worrying about precision.
Direct Marking:
 Hold the chalk at a slight angle and use the edge to draw your lines. This gives you nice, thin marks and always mark on the wrong side of the fabric to keep things looking neat on the finished piece.
Dotted Lines:
For more delicate fabrics, try making dotted lines instead of solid ones. This keeps the fabric from stretching and leaves less chalk residue.
How Do You Use Tailor Chalk For Patterns?
Tracing Patterns:
To mark your fabric accurately, start by securing your pattern piece with pins or weights. Next, trace around the pattern carefully using tailor's chalk, ensuring to capture all edges precisely. For intricate patterns, employ a tracing wheel along with wax paper to transfer detailed designs with accuracy.
Darts and Pleats:
To mark darts and pleats, begin by placing small chalk dots at their start and end points. Then, use a ruler to connect these dots, forming straight lines that serve as stitching guides for precise sewing.
What Are The Different Types Of Tailor Chalk?

Remembering that tailor's chalk isn't actually made of chalk—talk about keeping the sewing industry in stitches!
Clay-Based Textile Markers come in two shapes that give you crisp lines and are composed of premium-grade compressed clay.
 1- The Triangle Clay Tailor Chalk option has three sharp edges, ideal for detailed marking and perfect for intricate work, it comes in 4 colors and assorted packs.
 2- The Square Clay Tailor Chalk provides a more comfortable and broader grip for larger hands and is also available in 4 colors and assorted packs.
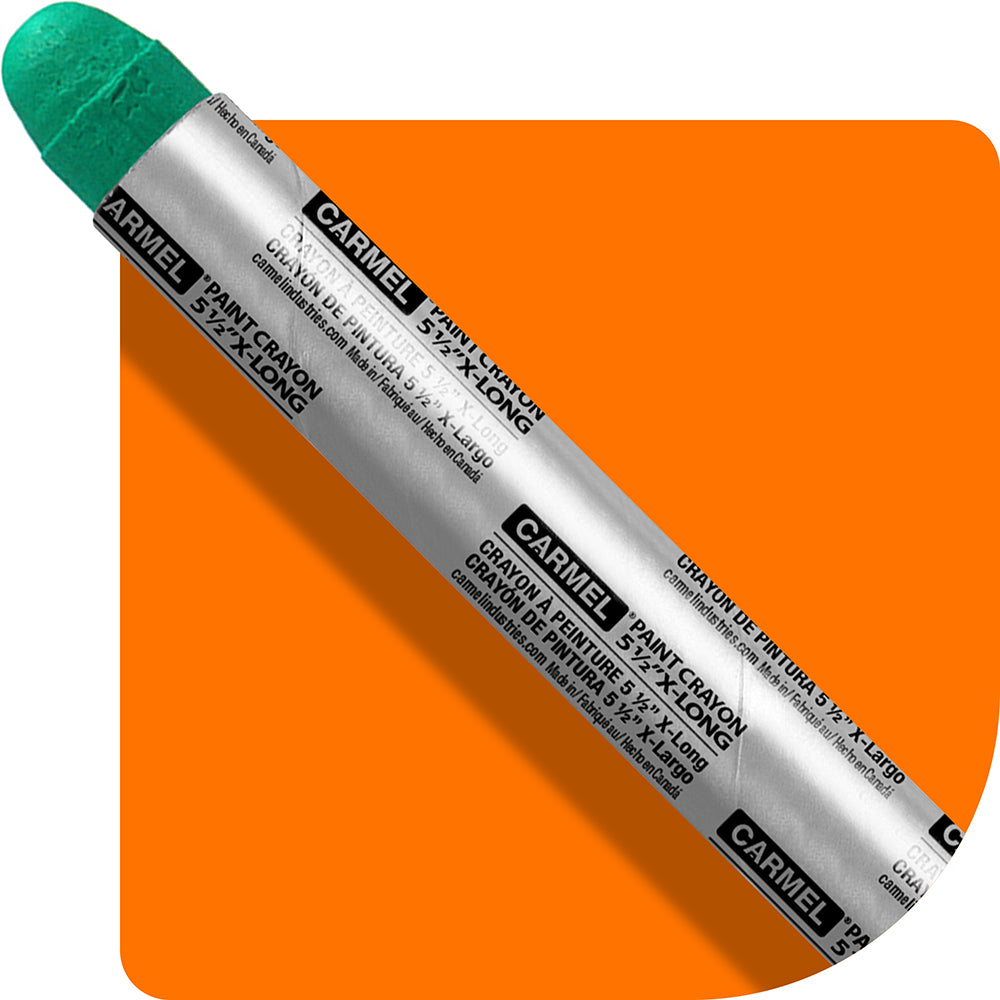
But if those shapes don’t quite fit your tailoring style, you also have the option of traditional crayon profiles with a long cylindrical shape and pointed tip, or you can go for square and pencil shapes instead.
Wax-Based tailor chalks are available in two options:
1- The Super-Glide, which is the most popular, featuring a 1/4″ (6 mm) groove for easy handling and available in 10 vibrant colors, making it easy to see your marks on any fabric.
2- The Triple-Groove chalk is larger for an extended lifespan and has three grooves for a better grip, available in nine colors and in a variety of shapes to suit your marking needs.
Where Can I Buy Tailor Chalk?
Our online store features an array of tailor's chalk, including both clay-based and wax-based options, in a variety of colors and shapes. Explore our selection and remember—measure twice, chalk once!
What Surfaces Can I Use Tailor's Chalk On?
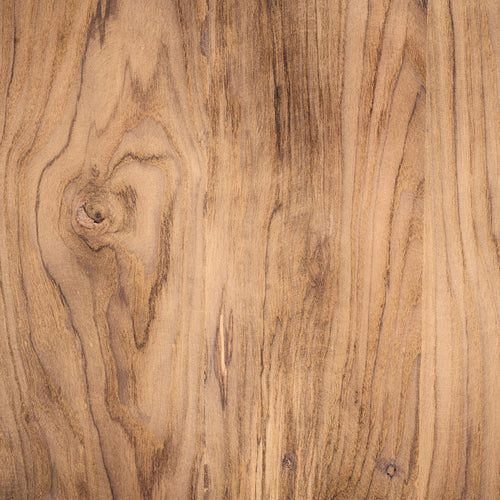
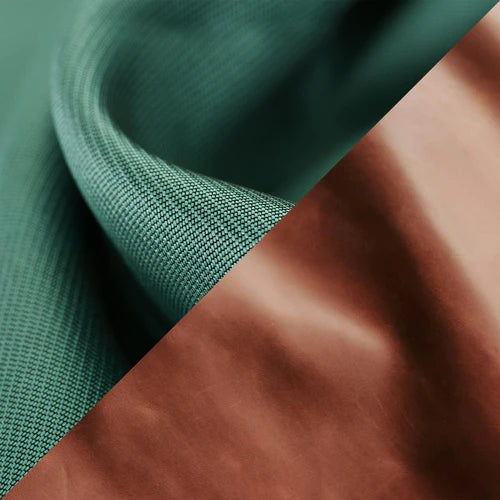
Fellow stitchers; choosing the right tailor's chalk for your sewing projects is key because different fabrics, like cotton, linen, and wool, require different types. Clay-based and wax-based tailor's chalks are like the trusty sidekicks of the sewing world, perfectly suited for fabrics with a bit of character—think cotton, linen, wool, and denim because they allow for precise markings without smudging or fading too quickly. These fabrics typically have a bit of texture or density that helps the chalk adhere well and remain visible until removed.
When using clay or wax-based chalk on delicate fabrics such as silk, velvet, lace, or sheer materials, it's important to test on a small, inconspicuous area first to ensure the chalk can be removed without leaving any residue or causing damage.
Why Choose Wax or Clay-Based Tailor Chalk Over Traditional Options?
With wax or clay-based chalk, there's no worry about dust inhalation, unlike with traditional chalk. Additionally, for those with sensitive skin, certain types of chalk can cause mild irritation, making wax or clay-based alternatives a gentler choice.
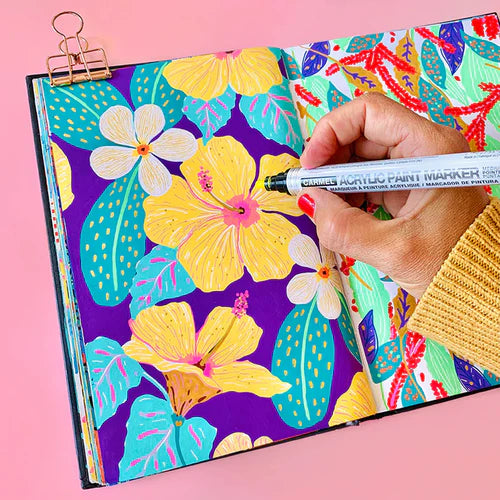
How Can I Use Tailor’s Chalk In Arts & Crafts?
When it comes to arts and crafts, the possibilities are truly endless! Whether you're creating fabric collages, hand puppets, dolls, decorative cushions, embroidery, costumes, or any imaginative project for a classroom, tailor's chalk is an essential tool. It's perfect for both amateurs and professional tailors and seamstresses.
How Do I Remove Tailor Chalk Markings:
Removing Wax-Based Tailor Chalk from fabric can be done using a few methods:
1. Heat Method: Use a dry iron on a low setting (no steam) over a paper towel or a piece of clean cloth placed over the chalk marks. The heat will melt the wax, allowing it to transfer onto the paper towel or cloth.
2. Brushing: Use a soft-bristled brush or a lint roller to gently brush away the chalk marks. This method works well if the marks are faint.
3. Cold Method: Place the fabric in the freezer for a couple of hours. Once frozen, gently scrape off the chalk marks with a dull edge, like the edge of a credit card. This method works best for thicker, more stubborn chalk marks.
4. Washing: Wash the fabric as you normally would in cold or warm water with detergent. This method can effectively remove any residual chalk marks left after using the heat or brushing methods.
Removing Clay-Based Tailor Chalk from fabric can be accomplished using these methods:
1. Brushing: Use a soft-bristled brush or a lint roller to gently brush away the chalk marks. This method is effective for lighter marks.
2. Damp Cloth: Dampen a clean cloth with water and gently dab at the chalk marks. The moisture helps lift the clay particles off the fabric. Avoid scrubbing vigorously to prevent spreading the marks.
3. Washing: Wash the fabric as usual in cold or warm water with detergent. This method should effectively remove any remaining clay chalk marks.
4. Sticky Tape: Use sticky tape or a lint roller to lift off any remaining clay particles after brushing or washing.
*Always test any removal method on a small, inconspicuous area of the fabric first to ensure it doesn't damage or discolor the fabric. Additionally, follow any specific care instructions provided for the fabric to avoid unintended damage during cleaning.
Whether you're marking buttons, seams, hems, lapels, or buttonholes, you're now ready to embark on your sewing adventures with your newfound knowledge of tailor's chalk! May your stitches be straight, your creations be fabulous, and your sewing journey be filled with joy and creativity!
Now, let’s get you back in your shop, where you can continue crafting those beautiful garments! And remember, we'd love to see what you create, so don't forget to share your masterpieces with us at Carmel Industries!
Happy sewing, and see you next time!